Introducing Devtree.link - Create your Mini portfolio in minutes.

Hello everyone, I'm Vikas Rai and I hope you all are doing good. This is the first time, I have participated in Hashnode Hackathon. Here is my Project - Devtree.link (Create your Mini portfolio in minutes).
Dapp Introduction
Devtree.link is a website that you can use to create your mini portfolio, which contains your image and your social and dev profile links.
It's basically a ( linktr.ee clone ), but I have tried to make a web3 version of it.
It's based on web3, so you can use your Metamask Wallet to connect to the dapp and after that, you can fill a simple form in which you can add your social link/dev profile links.
I choose to host the Application on Linode servers which is one of the requirement of the Hackathon to use any one service of Linode.
And that's done, now share your profile URL anywhere you want.
Project Image Gallery
So this is the project that I have created:
Demo Link of Project: Devtree.Link
Demo Link of My Profile: My Devtree Profile
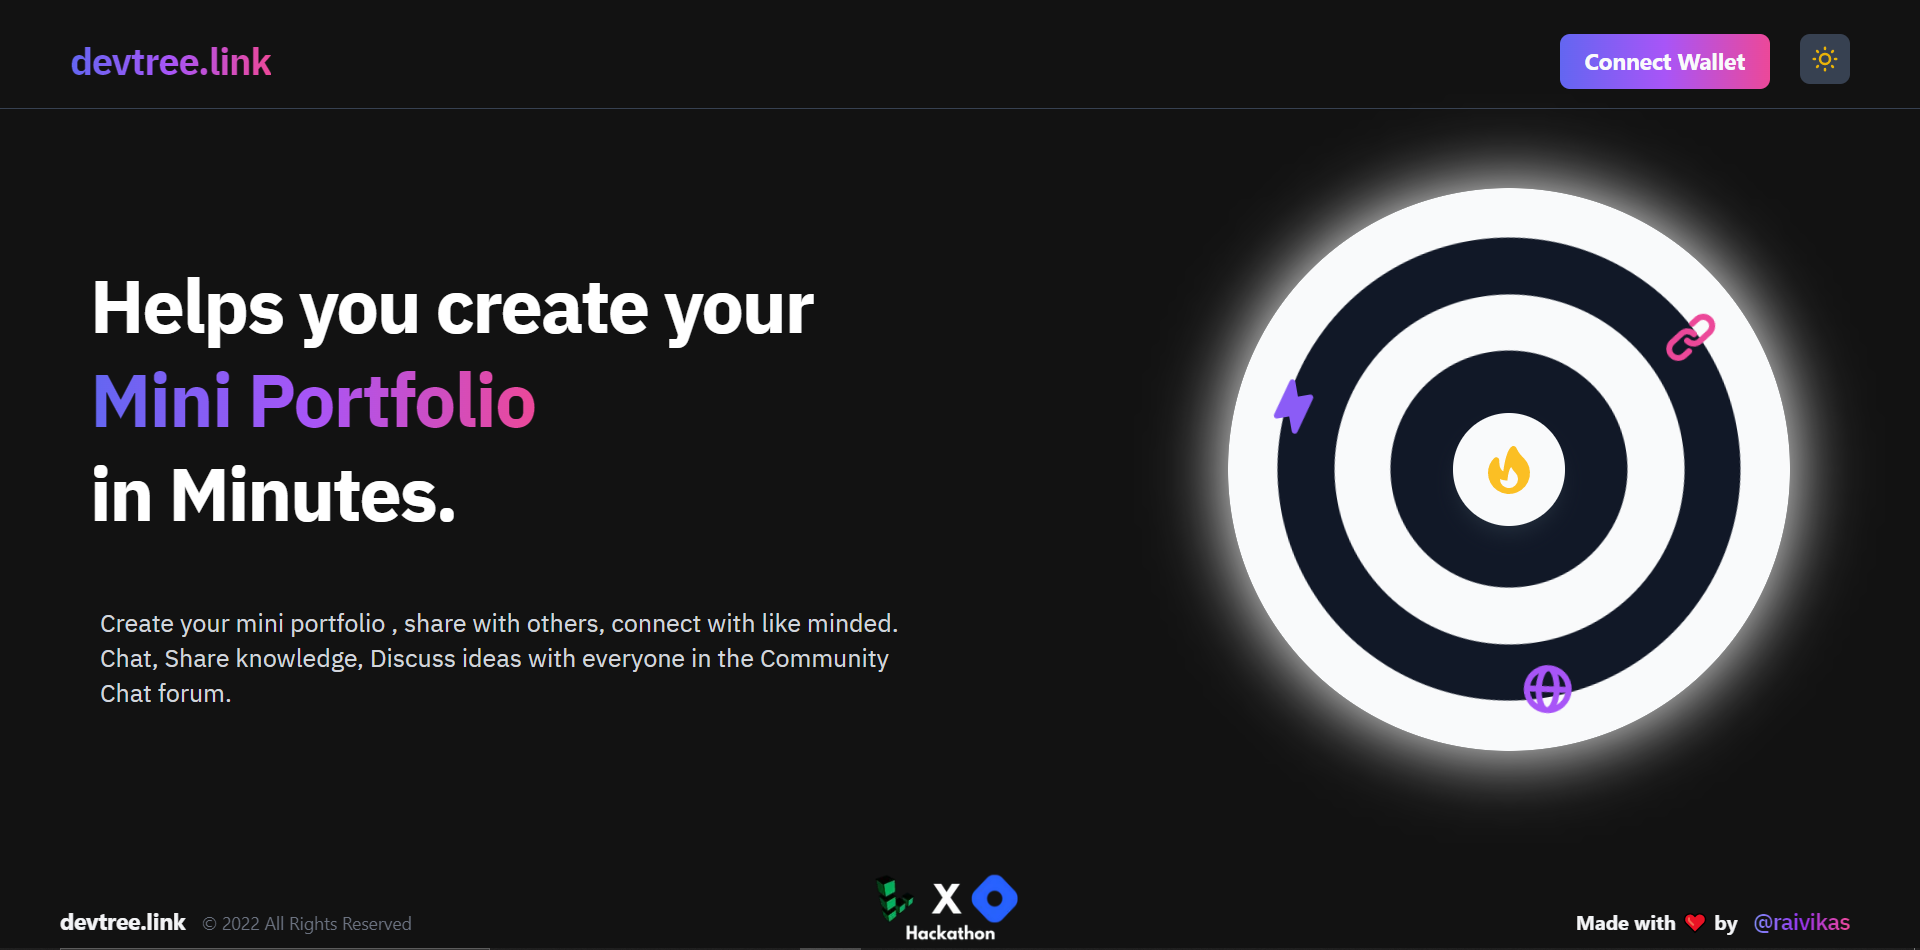
Landing Page - Dark Mode
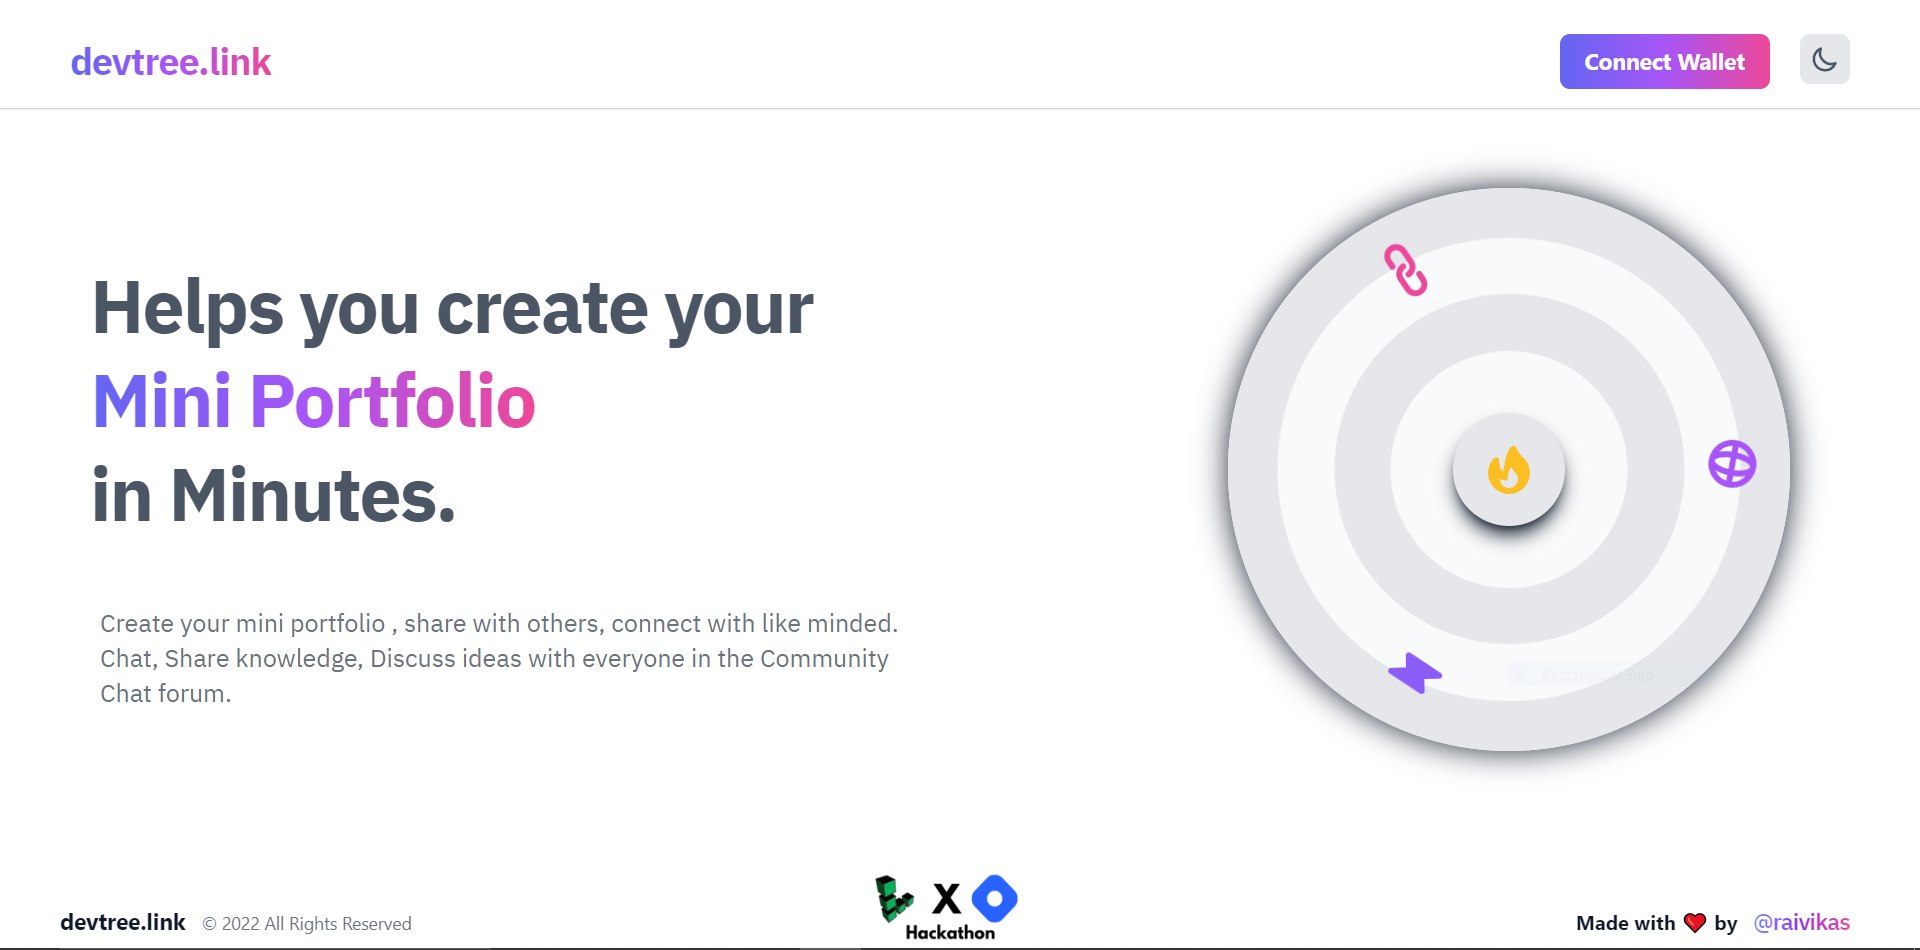
Landing Page - Light Mode
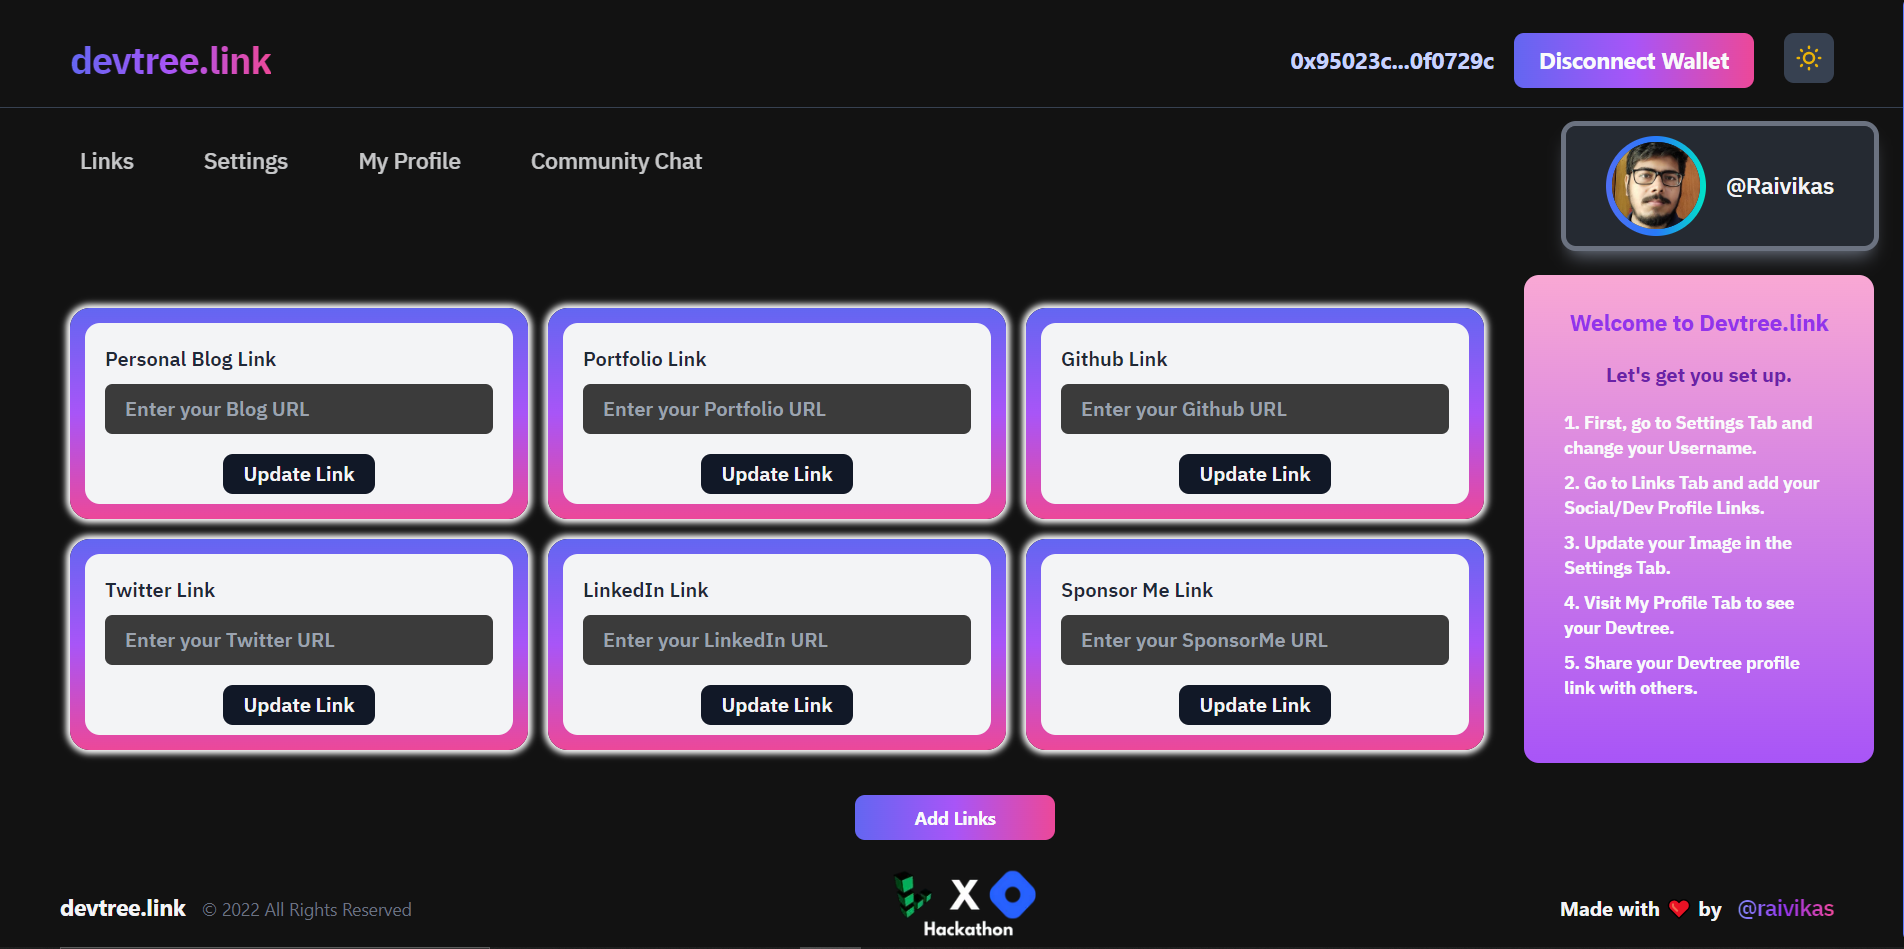
Dashboard
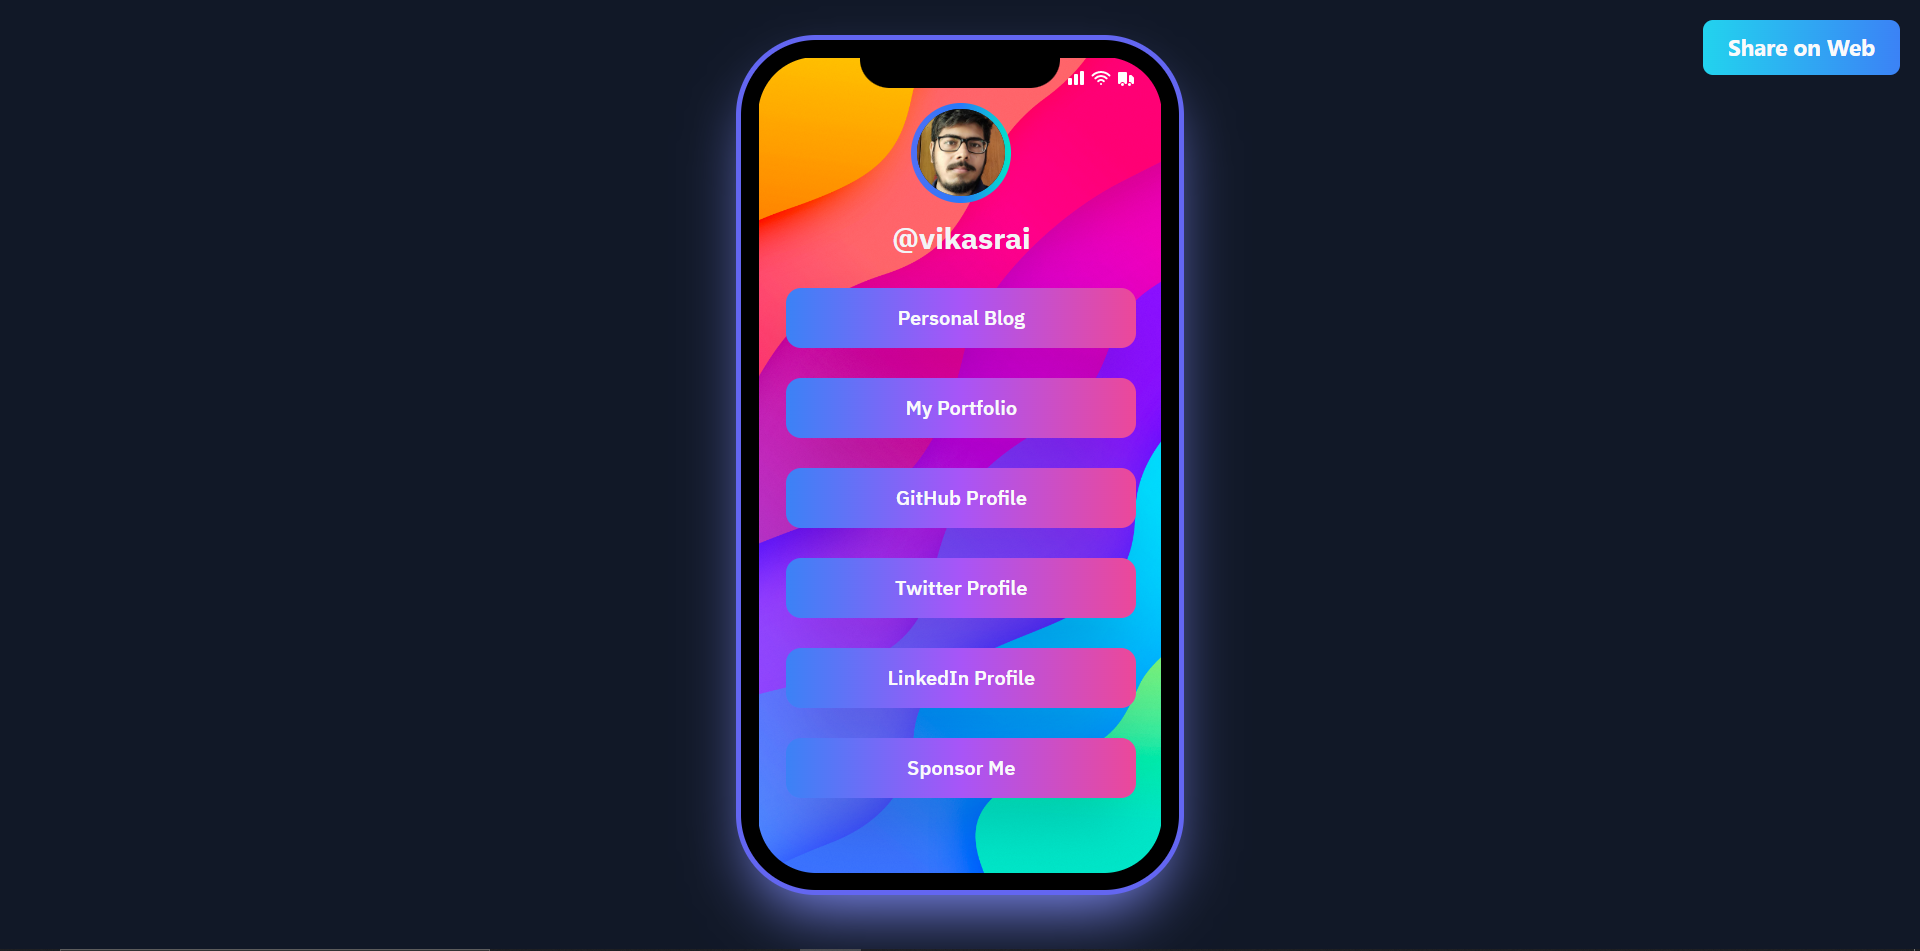
My Profile Page
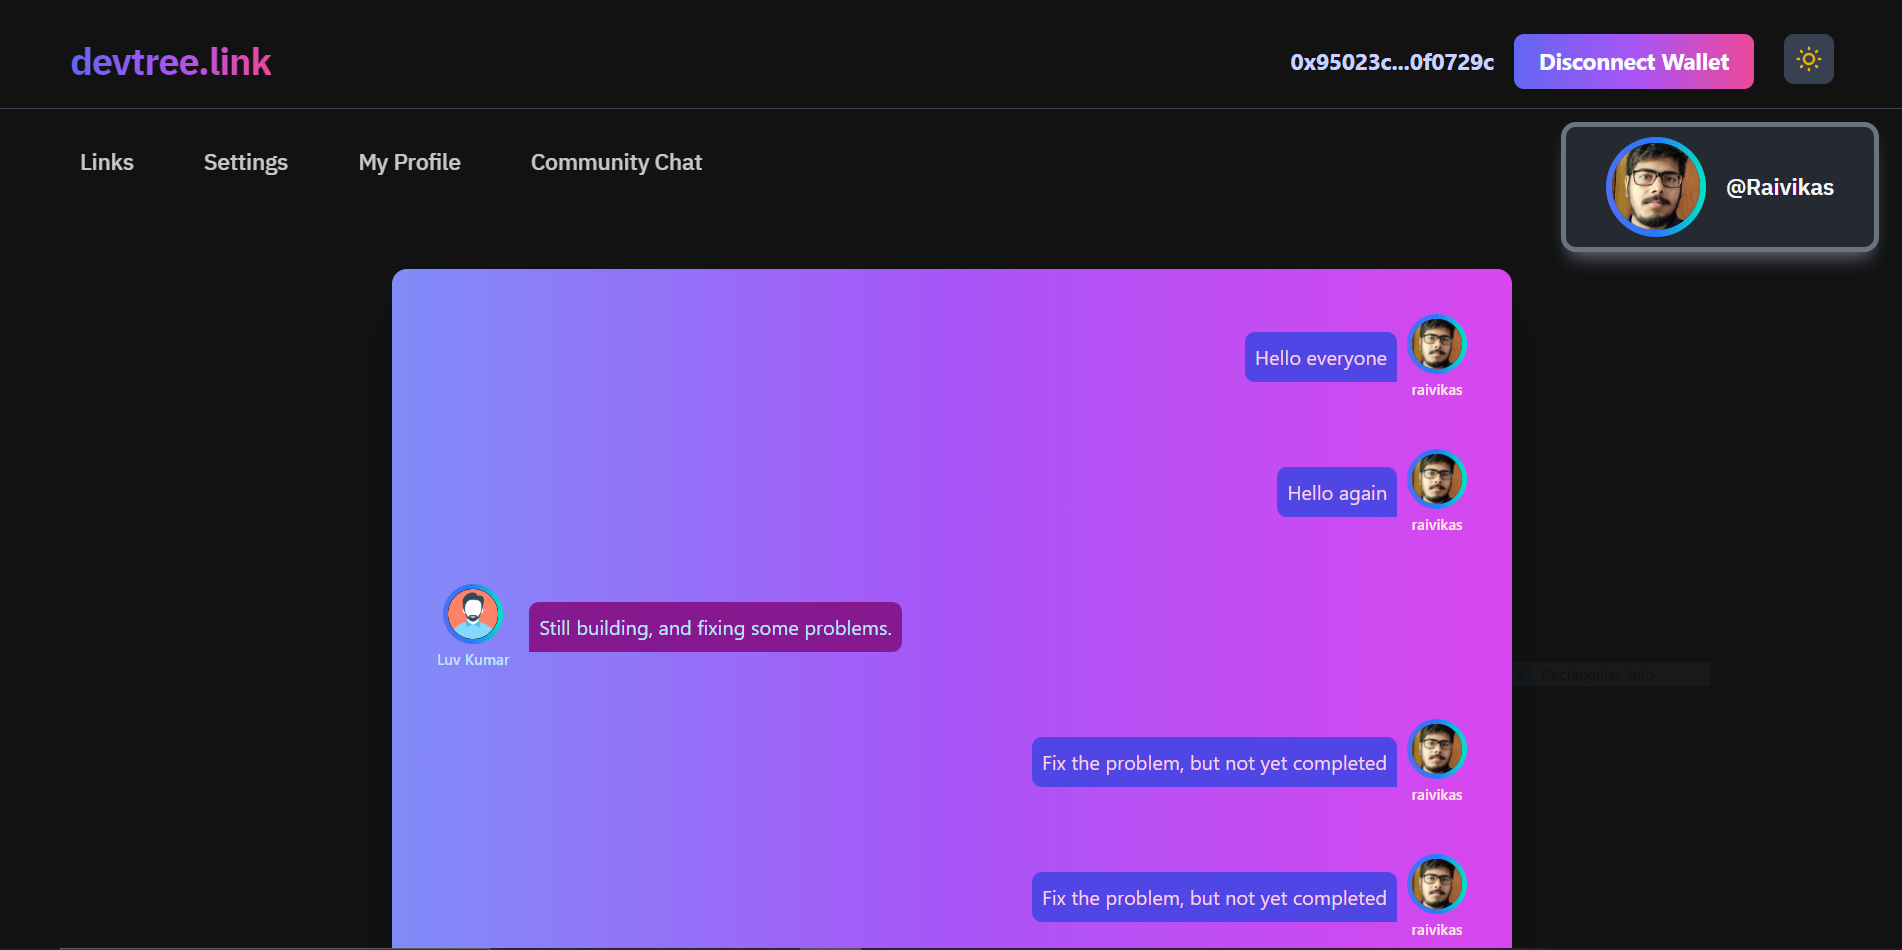
Community Chat
Features
- First thing, It helps you create your mini portfolio, in case you don't have your portfolio.
- You can add a social link or dev profile like Github or any other if you have one.
- Share your dev tree anywhere you want.
- It also has a community chat section, where you can chat with other developers and share your thoughts.
Inspiration
Well, honestly, I wanted to create my version of (linktree).
I have created this for those, who don't like to create their portfolio or I say don't want to waste their time creating one.
But they need to have some sort of portfolio, which helps them to share their important social or dev profile links ( Like their Blog link, Github Profile Link, Twitter Profile, etc.)
How to use/create a profile on devtree.link
- First, visit the devtree.link , and use your Metamask wallet to connect to the Dapp.
- Then, go to Settings Tab and change your Username.
- Go to Links Tab and add your Social/Dev Profile Links.
- Update your Image in the Settings Tab.
- Visit My Profile Tab to see your Devtree.
- Share your Devtree profile link with others using the Share Button.
Tech Stack Used
This is my all-time favorite tech stack:
- Next.js (Fullstack Framework for React.js).
- React.js (Front-end UI Library).
- Tailwind CSS (CSS Framework).
- Moralis.io (Web3 Provider)
- Supabase.io (For Database)
- Linode (For Hosting the App)
The Code
You can get the code from my GitHub Repository.
Steps to run the app locally:
Step-1: Git Clone the project
git clone https://github.com/raiv200/devtree-link.git my-project
Step-2: Install the dependencies
npm install
Step-3: Create a .env.local file and add these 4 environment variables
NEXT_PUBLIC_APP_ID=" "

NEXT_PUBLIC_SERVER_URL=" "

NEXT_PUBLIC_SUPABASE_URL=" "

NEXT_PUBLIC_SUPABASE_ANON_KEY=" "
Step-4: Create an account on Moralis.io and Supabase.io and get the environment variables.
You can get the first two environment variable by creating project on moralis.io.
- After creating project, you will see, a settings tab.
- Click on the settings tab , and the you will see DappCredentials.
- Copy Dapp URL and Paste in between the quotes of NEXT_PUBLIC_SERVER_URL.
- Then Copy Application URL and Paste in between the quotes of NEXT_PUBLIC_APP_ID.
And that's it for the Moralis Part.
And the next two environment variable by creating account on Supabase.io.
After creating account, you will see a dashboard and you were asket to create a project, you can name it anything.
You will see some icons on the left side menu , one of them will be a settings icon, click on it and then you will see the API tab, click on it and grab you credentials
Copy the Project URL and the Anon Key and paste it in the environment variables.
Now, Click on database icon , which will on the left side menu .
After that click on the Table tab and create a new table, just fill the (Name of the Table ) and the Description Field) and save it.
Then go to Table Editor, and inside that add columns to the table.
Add these column one by one:
           1. userName - type(Varchar)
           2. ethAddress - type(Varchar)
           3. blogLink - type(Varchar)
           4. portfolioLink- type(Varchar)
           5. githubLink - type(Varchar)
           6. twitterLink- type(Varchar)
           7. linkedinLink- type(Varchar)
           8. sponsormeLink- type(Varchar)
           9. imageUrl- type(Varchar)
Now you Database is ready.
Step-5: Start the development server
Now open your project in your favorite IDE , (VsCode) and then start the development server.
npm run dev
Note: In Production mode , you need to one more thing, Go to the ShareButton.jsx componennt and edit the URL constant with your Website URL link.
Deployment of the App
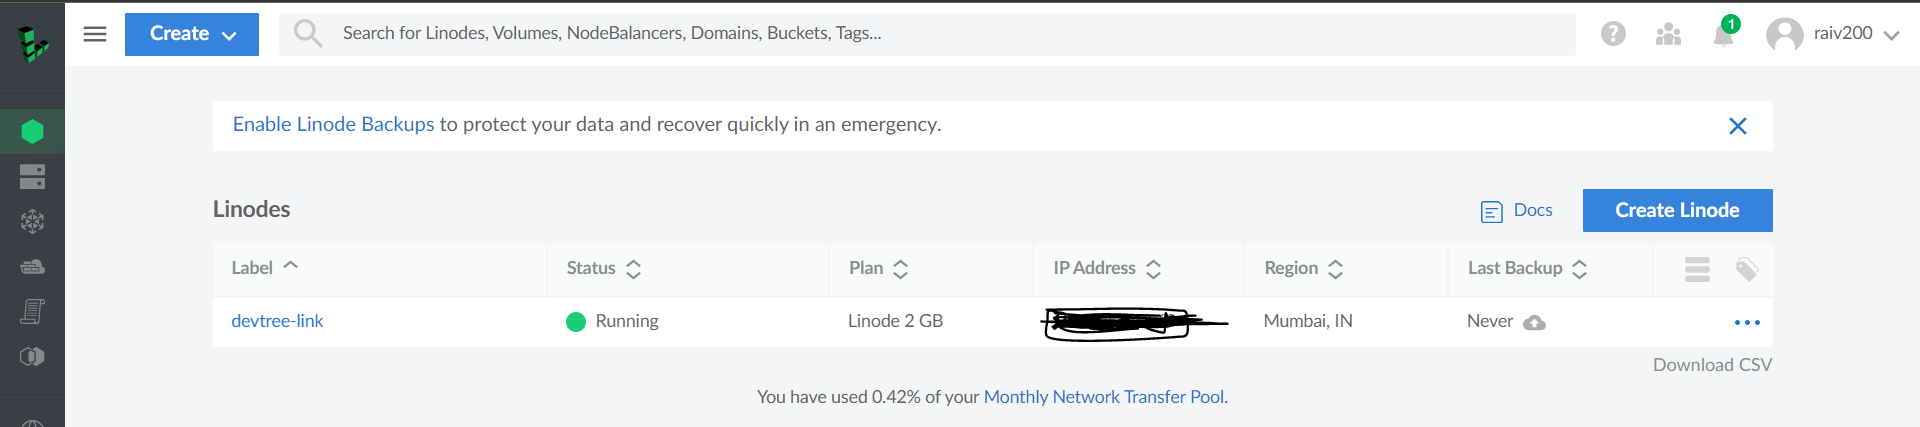
As the hackathon says, we need to use any one service of Linode.
So, I choose to host the app on Linode servers.
Linode is a cloud hosting platform that services over 400,000 customers, including The Onion, Creative Commons, and WP Engine. The Linode Manager allows customers to create, manage, and deploy virtual servers and services through a web interface.
I wanted to discuss the deployment in detail butI don't want to unneccesarily increase the length of the article.
You can follow this article if you want to deploy a Nextjs/React.js Application on an Ubuntu Server.
How to Deploy a Next.js Application to an Ubuntu Server
Upcoming Features
I am planning to add some more features , which will make this website even more useful for the users.
- Portfolio Section on the My-Profiles page, which will showcase your Dev Projects.
- Appearance Tab , through which you can customize the backgroud color or styles of the My Profile Page.
and many more features are yet to come.
Feedback and Conclusion
I have added limited features to the app as I was working alone on this project, but I have planned to add some more features to the app in future.
I have made the UI design of the app fully responsive.
Since , this project is Open-Source, so if anyone would like to contribute to the project, then it will be awesome.
Challenges I Faced 😥
I'm a more Front-end developer and wanted to make the app's design as cool as possible, but I enjoyed building this project as a full-stack project and learned new tech like (Moralis.io and Supabase.io).
And also, It was first time I am Hosting an App on a Server , till now I have only deployed apps on heroku, netlify and Vercel 😓.
I ❤️ creating things, solving problems, and learning new technologies and it involved all of them..
I had used moralis.io in my project before, but I have not used supabase in any one of my projects.
I would appreciate your feedback on the project.
Thank you for reading the blog and viewing the project.
Some useful Links
Dapp Related
- Next.js Docs
- React.js Docs
- TailwindCSS Docs
- Moralis.io Docs
- Supabase.io Docs
- Linode.io Docs
- GitHub Link For Project
- Demo Link for Project


